
How to Size and Install a Range Hood
Tue Jul 01 2025
- Tips & How To's
Choosing the right range hood is essential in designing a functional and comfortable kitchen. Whether you're remodeling or upgrading your appliances, an appropriately sized and installed range hood helps remove smoke, odors, and grease from your cooking area, keeping the air fresh and clean.
In this guide, we’ll walk you through how to size and install a range hood, what features to consider, and tips for getting the best performance.
Why You Need a Range Hood
Range hoods do more than just look good above your stove; they serve several important purposes.
-
Improve Air Quality: Remove smoke, steam, and airborne grease while cooking.
-
Protect Cabinets and Walls: Reduce the buildup of grime and grease over time.
-
Enhance Lighting: Many models include built-in lighting for better visibility while cooking.
-
Boost Home Value: A quality hood can add value to your kitchen and improve resale appeal.
How to Size a Range Hood
Sizing your range hood correctly is key to performance. A hood that’s too small won’t capture enough air, while an oversized one can be inefficient and noisy. Here are some tips on how to find the size of the range hood that you need.
1. Match the Width to Your Cooktop
-
Electric Cooktops or Induction Cooktops: The range hood should be at least as wide as your cooktop.
-
Gas Cooktops: Ideally, go a bit wider. If your cooktop is 30 inches, choose a 36-inch hood for better coverage.
2. Choose the Right CFM (Cubic Feet per Minute)
CFM measures how much air your range hood can move per minute. More powerful hoods are better for gas ranges or heavy cooking.
Here’s a general guide:
-
Electric ranges: 300–500 CFM
-
Gas ranges: 600+ CFM
-
High-heat or frequent cooking: Up to 900 CFM or more
3. Consider Mounting Height
The hood should typically be installed:
-
Electric cooktops: 20 to 24 inches above
-
Gas cooktops: 24 to 30 inches above
Types of Range Hoods
Before installation, know which type of hood best fits your kitchen layout. Here are the main types of vent hoods and their uses.
-
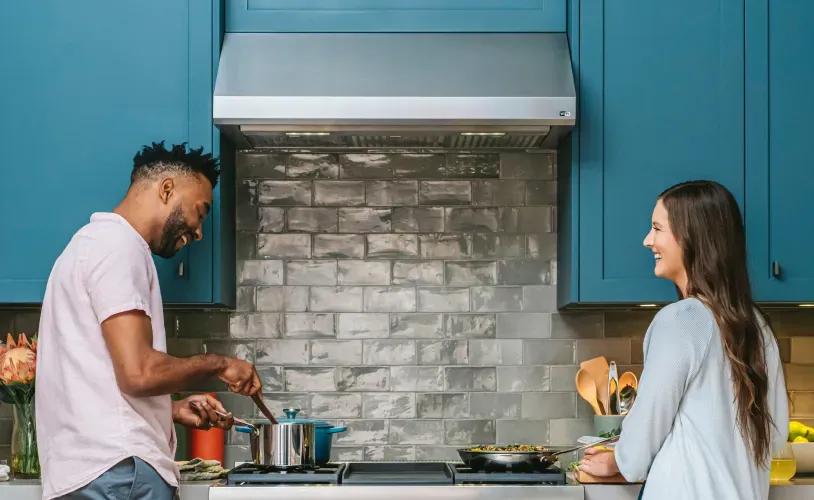
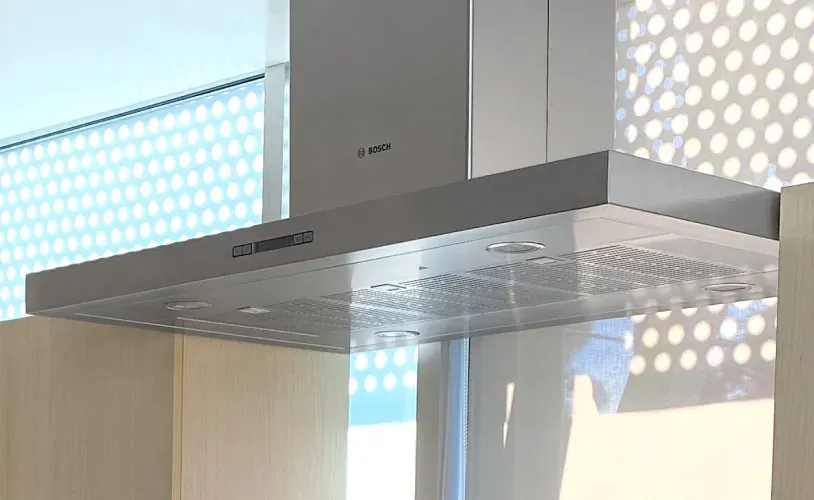
Under-Cabinet: Mounted beneath a cabinet above your range.
-
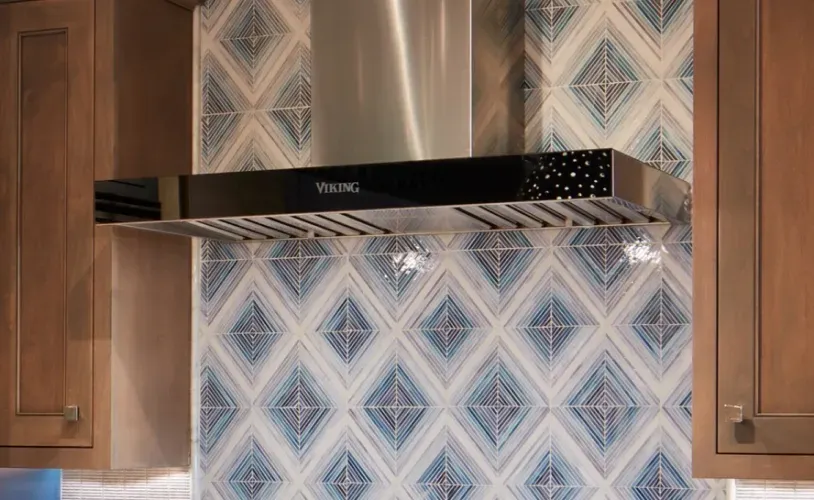
Wall-Mount: Installed directly on the wall, usually with a chimney-style vent.
-
Island Hoods: Hang from the ceiling above a kitchen island cooktop.
-
Insert Liners: Fit inside custom cabinetry for a built-in look.
-
Downdraft Vents: Rise from behind the cooktop and pull air down (less common, often used in open layouts).
Installation Tips for Range Hoods
Before you start, here are some other tips on properly installing your range hood.
-
Plan Your Vent Route: For ducted hoods, plan a direct route to the outside; shorter, straight runs with minimal bends offer the best airflow.
-
Check Power Requirements: Most hoods need a standard 110V outlet, but high-end models may require dedicated circuits. Confirm electrical specs before installation.
-
Use the Right Duct Size: Don’t downsize the duct; this can restrict airflow. Match the hood’s recommended duct diameter (usually 6–8 inches for most models).
-
Secure the Hood Properly: Use wall anchors and screws appropriate for the weight of your hood. If you're installing into drywall, reinforce the area with wood blocking if needed.
-
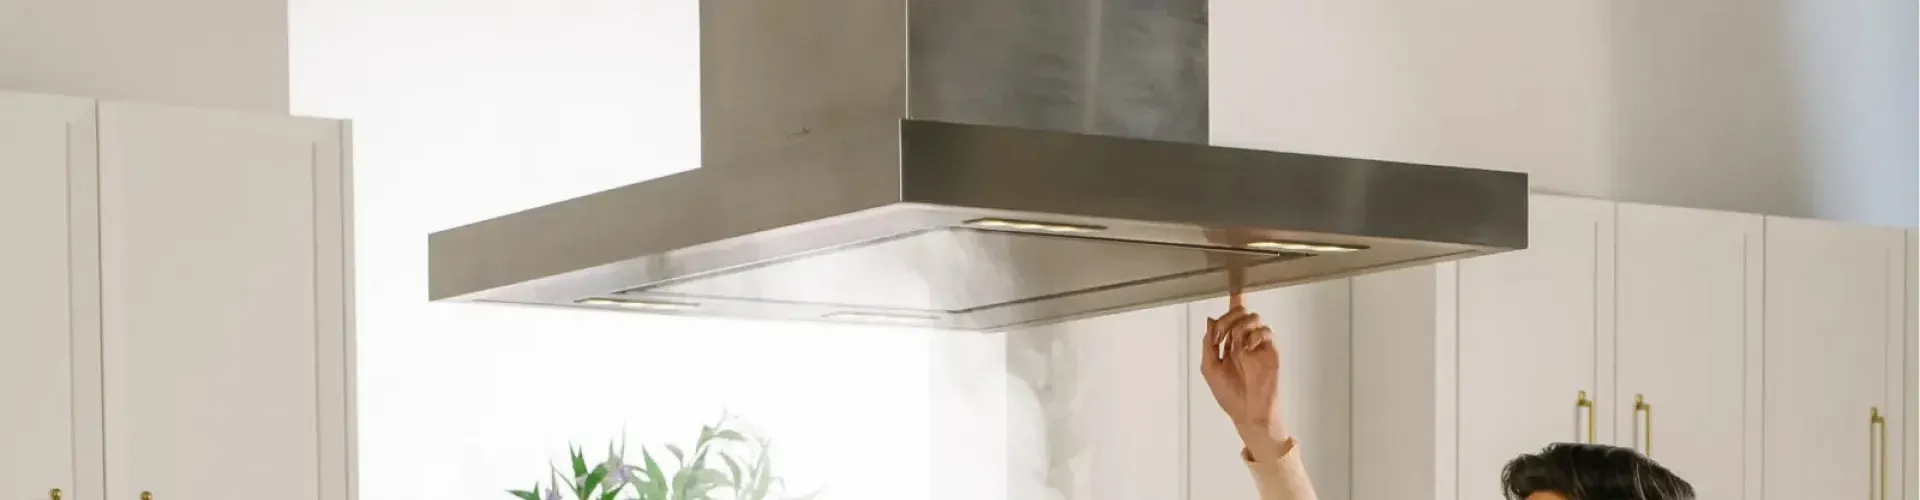
Consider Professional Installation: While some under-cabinet models are DIY-friendly, wall-mounted or island hoods, especially ducted models, often benefit from professional installation to ensure proper venting and code compliance.
How to Install a Range Hood: Step-by-Step
Installing a range hood can be a straightforward project if you're comfortable with tools and basic electrical work. Here's a general guide for installing a ducted under-cabinet or wall-mounted hood. Be sure to check your model’s manual for specific instructions.
-
Turn Off Power
Before doing any electrical work, turn off the power at the circuit breaker to the area where you’ll be working. -
Measure and Mark the Placement
Mark the center of your range on the wall or cabinet. Measure the correct height for your hood, usually 20–24 inches above electric cooktops or 24–30 inches above gas cooktops. Use a level to mark the mounting points and vent hole placement (if ducting outside). -
Cut the Vent Opening (for Ducted Hoods)
Use a jigsaw or hole saw to cut through drywall, cabinets, or siding as needed. Install ductwork through the wall or ceiling, using metal ducting (not plastic or flexible). Seal duct joints with foil tape for airflow efficiency. -
Mount the Range Hood
Drill pilot holes and insert wall anchors or screws where needed. With help (especially for heavier models), lift the hood into place and secure it to the wall or cabinet using the provided mounting hardware. -
Connect the Wiring
Remove the access panel and run your wiring through the knockout hole. Connect the black (hot), white (neutral), and green (ground) wires using wire nuts. Close the access panel once everything is secure. -
Attach the Vent and Filters
Connect the hood to the vent using duct clamps or foil tape for ducted hoods. Install the baffle or mesh filters per the manufacturer’s instructions. -
Restore Power and Test
Turn the circuit breaker back on. Test the lights, fan speeds, and additional features like auto shut-off or Wi-Fi connectivity.
Tip: If you’re installing a chimney-style wall hood or working with an island range hood, you’ll need ceiling support and possibly additional framing. These installations are more complex and often require a professional.
Ready to Upgrade Your Kitchen Ventilation?
A high-performing range hood keeps your kitchen cleaner, healthier, and more enjoyable. Whether designing a new kitchen or simply replacing an outdated hood, choosing the right size and setup makes all the difference.
At Van Vreede’s, we carry a wide selection of high-quality range hoods in a variety of styles, sizes, and finishes. Our experts can help you find the perfect fit and arrange professional installation if needed. Visit our showrooms in Appleton, Green Bay, or Oshkosh, WI, or shop online to browse top brands and current promotions.
Related readings from our blog:
FAQs About Range Hoods
1. Can I install a ducted range hood myself?
If you're comfortable cutting vent holes and electrical wiring, yes, but professional help is recommended for complex setups.
2. How often should I clean the filters on my range hood?
Metal filters should be cleaned monthly. Charcoal filters (in ductless hoods) should be replaced every 3 to 6 months.
3. What’s better: wall-mount or under-cabinet?
It depends on your kitchen layout. Under-cabinet is ideal for compact spaces, while wall-mounts offer a stylish focal point.
4. Do I need a range hood for an electric stove?
Yes. Even with electric stoves, a range hood helps remove smoke, moisture, and odors from the air.
Related Articles